Social Graph Project – Making the Network Map (5 of 5)

We have gotten to the last entry in the series on how to make a social graph using kumu.io.  For this entry I will walk through some of the settings you can play with.

Quick review. In the first entry I discussed an overview of my social graphing project and in the second entry I discussed how to deal with data from LinkedIn. In the third entry I discussed organizing data in google contacts.  In the  fourth entry I discussed reformatting the data from google into a format to import into kumu and how to set up the social graph.

You can take a look at the final map here: https://kumu.io/hlinak/lotr#untitled-map

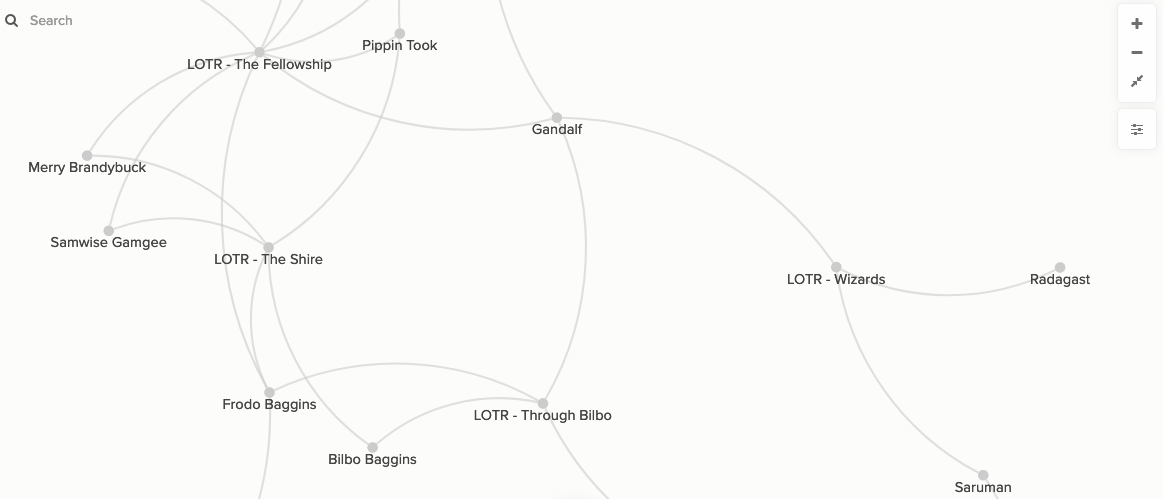
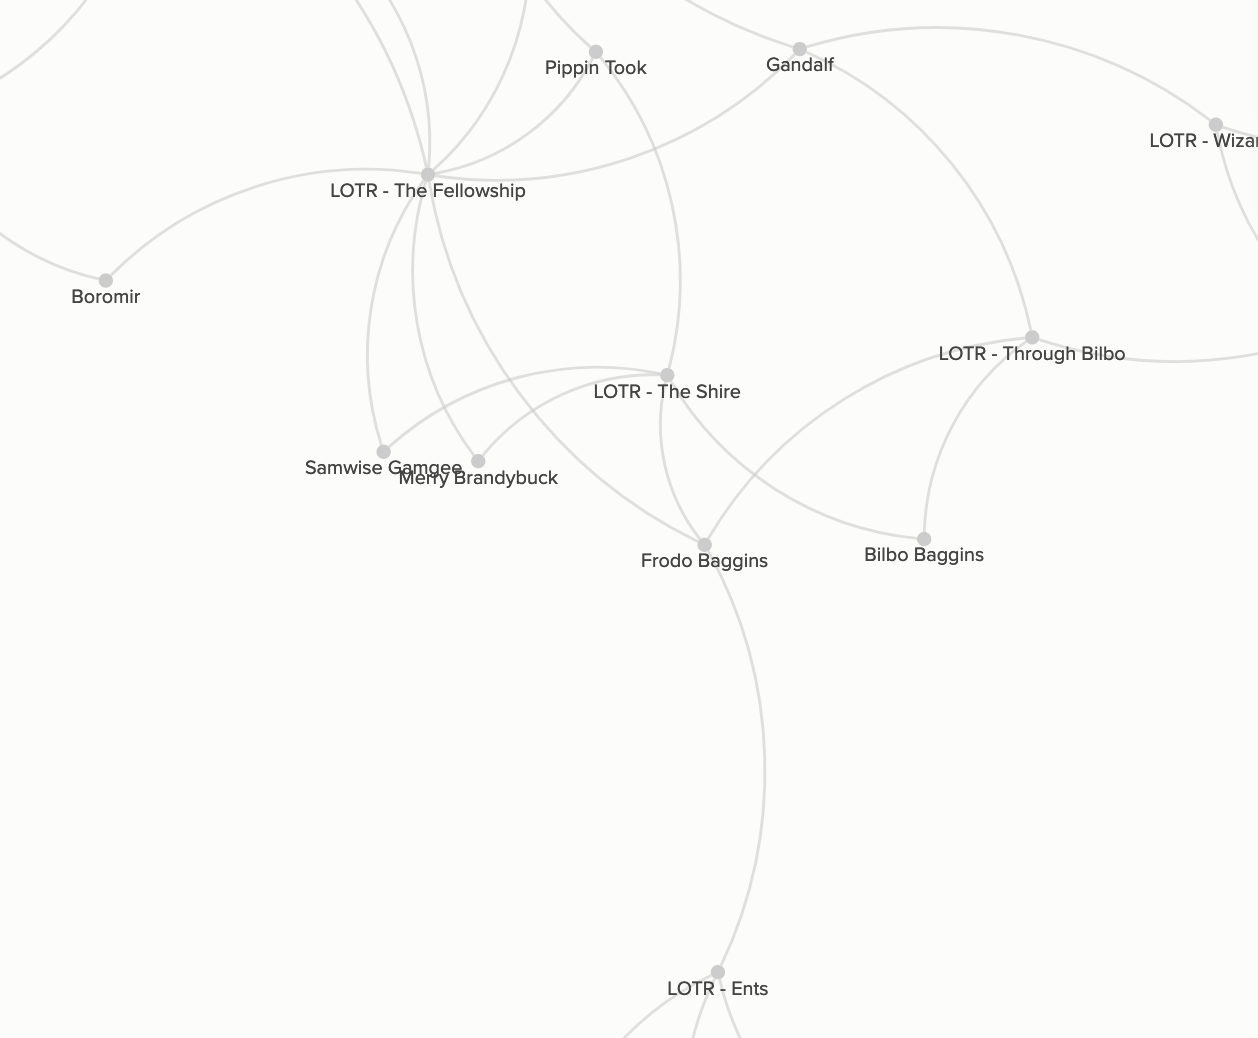
Now to begin a brief trot through playing with settings.  Here is a glance at what the network looks like centered on Frodo:
To start changing the visuals we will go to the upper right hand corner to settings (the bottom of these four boxes):

We will next add some color by organization:
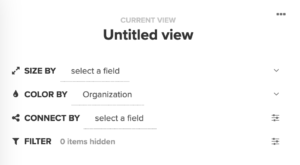
Next let’s change the way the connections are done and set them up by tags and watch the network swing and fly!  This setting is probably the best way to explore different aspects of your network since it will move the nodes around in different ways:
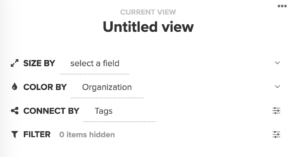
Changing on size isn’t an option for the way this one was set up (it needs a numeric field of some type), but is another good option to explore the data.  I didn’t really play with the filter option when I developed my personal network, but it could come in handy too if you have too many nodes to manage. There is also an advanced editor that allows you to code changes, but that isn’t something I had the wherewithal to explore.

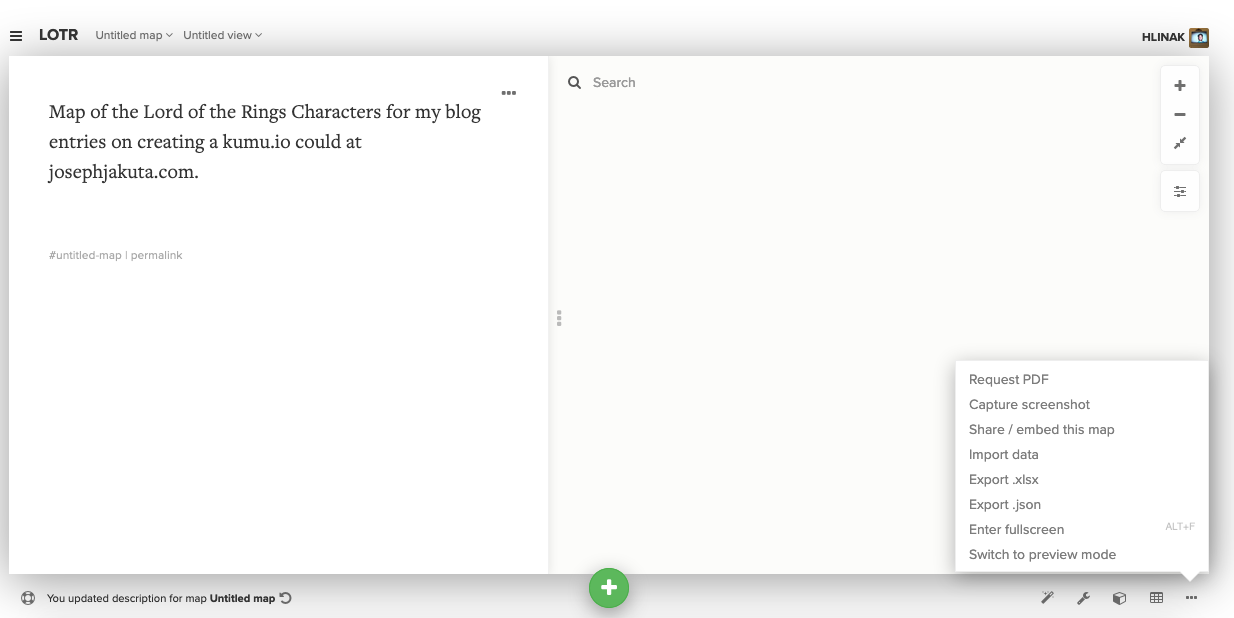
One last thing to note you can get a PDF of your final project.  When I did a private project I had to pay for this luxury, but either kumo changed their fee structure or you don’t have to pay to make a PDF of a public project.  You can find the PDF option here:

Well that is it.  I hope you enjoyed my lesson on how to put together a social network diagram.  I definitely learned a lot about who I could reach out to on certain issues through this project and it definitely incentivized me to clean up my contact list, which has paid off dividends.  Part of the reason it took so long to finish the last entry was that I was using my newfound network weaving understanding to implement a challenging advocacy project.  Perhaps if that is successful I will write up a few entries on that.

Social Graph Project – Making the Network Map (4 of 5)


The moment has arrived. It is now time to learn how to get your data into kumu.io and make a social graph.

Quick review. In the first entry I discussed an overview of my social graphing project and in the second entry I discussed how to deal with data from LinkedIn. In the third entry I discussed organizing data in google contacts.

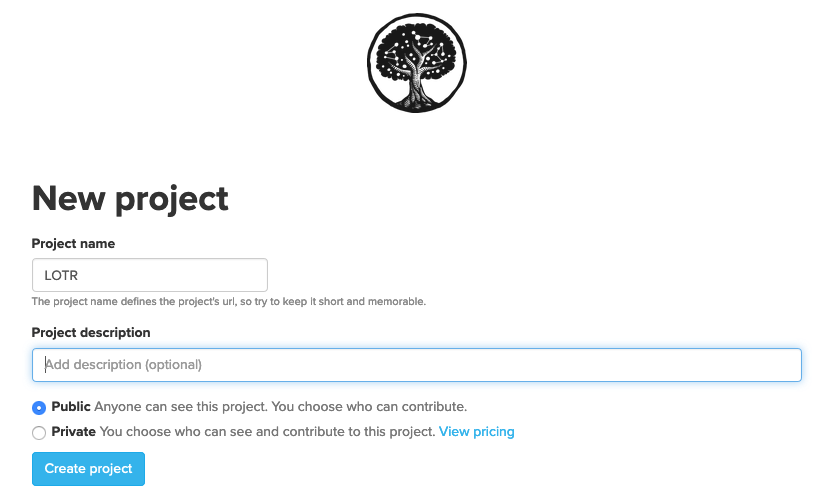
To start we let’s set up a blank kumu social graph.  I assume you already have an account.  Then we have to enter a Project Name, Description, and whether it is Public or Private, the latter of which will cost after a trial period. 

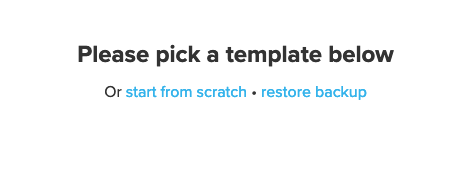
Next let’s pick a template and “start from scratch.”

So now we have a blank tree, just like Adam did.  But we have an existing social graph to build.  Before we start adding entries though, there is a lot of data that isn’t part of the default set so start by clicking on the little wrench so we can add a few columns. 

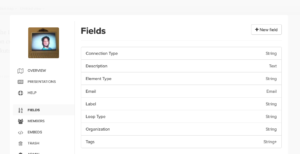
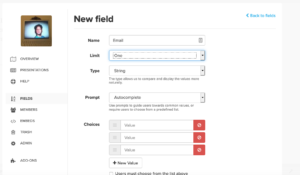
I am going to add Email, Organization, and Title, and will only walk through adding Email.  You want to click on New Field in the upper right of the first screenshot.  Then add your field as shown in the second screenshot.  There are more complicated options, but we are keeping this simple, one field per entry, etc.

Now close out of this and after you return to the original screen click on the “…” in the lower corner and then “Export.xlsx” to give us a template to fill in from using our data from the google contact .csv.  The blank template will have two sheets and the “Elements” sheet will look like this.

Following this we will need to copy our characters’ names (as label), notes (as description) emails, organizations, and titles to this sheet.  We will also add that they are type “Contact.”  Note that I am skipping “tags,” the labels that got set up earlier are going to play a role later in connections.  You can see what the file looks like:

Now the connections.  One nice thing is that kumu.io will already make connections based on the Organization and Title fields, so we can probably just call it a day.  Honestly though, LinkedIn already does that so I don’t think this would add value if that is all it was.  Plus most people aren’t people I know through work so as I mentioned I am setting this up based on how people met, either geographically (e.g., they all lived in the Shire) or through an interest (they all were part of the Fellowship).

To do that I also added these “connections” to this file at the bottom.  This information will all come from the “Group Membership” column in the google contacts.csv.  Pretty much ever label is going to need a row at the bottom of the sheet as shown below.

Now we are done with the elements worksheet, time to move onto the connections worksheet.  We are going to want to again copy the names (as from) and this time also the “Group Membership” to “to.”  I left all of the other fields blank for this one and it looks like this.

However you will notice there is a bunch of junk in there, plus some rows have multiple fields.  First, you will need to use Find & Replace (Ctrl+H) or a script to get rid of the unneeded labels, namely “LOTR,” “Imported on 5/9 4,” and “* myContacts” in this case (be careful with the last one since Find & Replace considers the * to be a wildcard).  Second, you will need to add lines for rows with multiple labels that you are keeping and make sure there is only one per line, which since this is such a small list I am doing manually (I also added a few I noticed were missing when I did this).  We also need to get rid of any that have a blank “To” field or come up with some relationship (I just removed them).  The result looks like this.

Then import the file and now we have a social graph!

For the last entry I will walk through some of the settings in the kumu.io app and take a moment to talk about what I learned through this project.
  

Social Graph Project – Cleaning Data in Google Contacts (3 of 5)

In the first entry I discussed an overview of my social graphing project and in the second entry I discussed how to deal with data from LinkedIn.  This entry will get into the second step, organizing data in google contacts.

One thing that will be involved in this involves use of labels.  Essentially all of the connections in kumu.io will get added through labels.  While this might seem a bit tedious, labels are totally useful for other purposes.  A lot of my labels are based on geography and lately  I have had to the need to send information to people living in a particular area.  And because I did all of this labeling, I now have an easy personal email list already at my finger tips.  Sometimes I think a Rolodex is way more valuable than a Rolex.

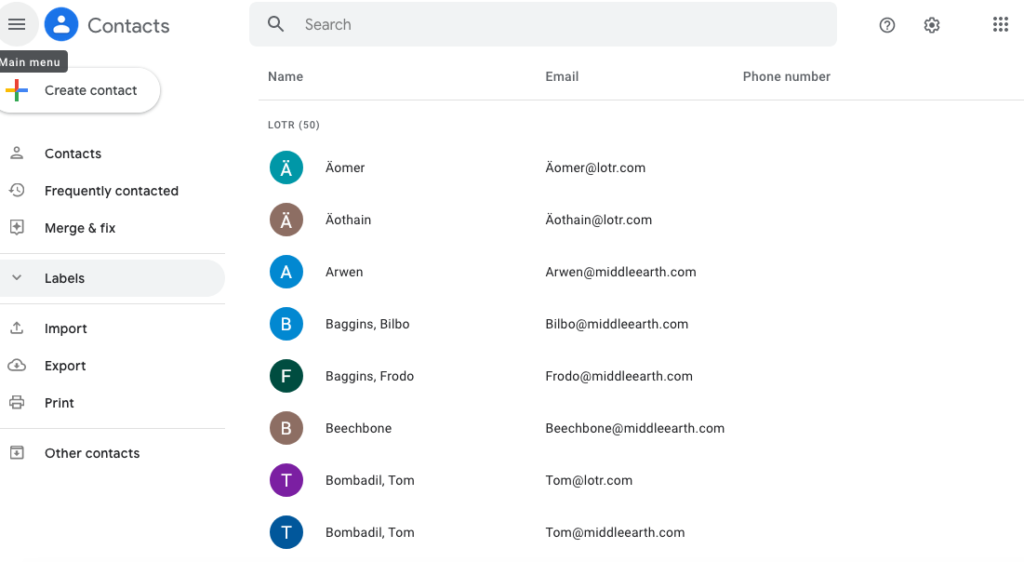
To start go into your google contacts.  Frodo’s look like this right now:

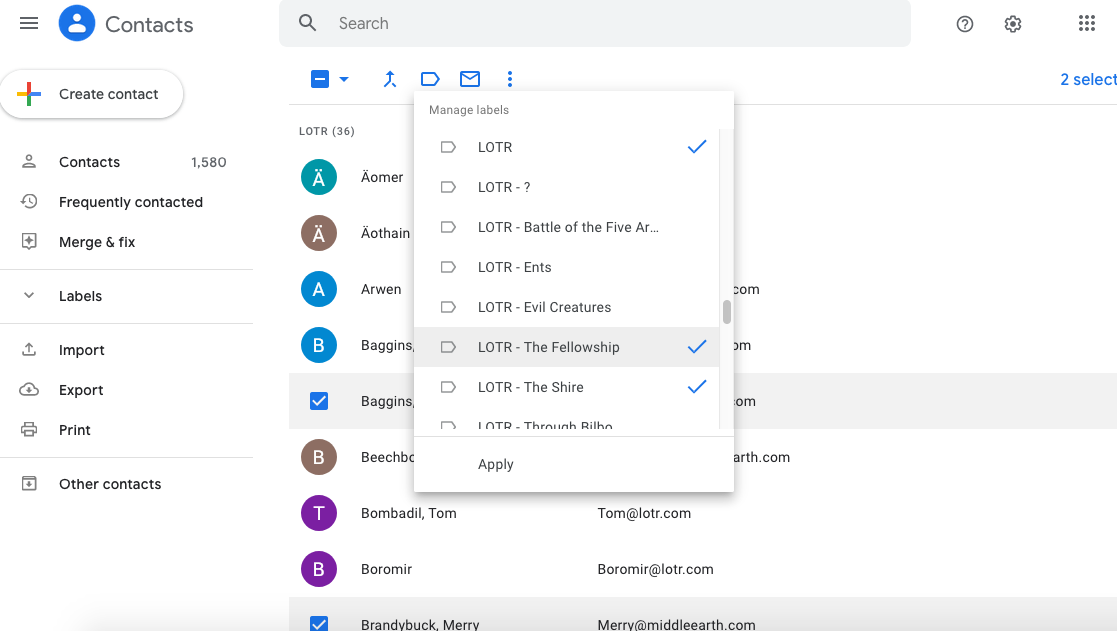
Then it is pretty simple, just start adding labels for all of relationships you are going to want to keep track of.  For instance instance I am going to add “The Shire” label to some characters that Frodo met at the Shire and since they were also part of the Fellowship I am adding that label too. The LOTR is only necessary because I am trying to keep these separate from my real contacts.

After you are done with the labels you want to export your network, which you can do either by selecting contacts you want, or on the left of the window.  You will also have to clean up the csv, but I will get to that in the next entry.


Social Graph Project – Exporting Data from Linked In (2 of 5)

In the first entry I discussed an overview of my social graphing project.  This entry will get into the first step to actually make it happen.

Of the two social networks I will discuss, LinkedIn makes exporting data quite easy, both the process to export and providing a readable, usable file. The instructions to get your data out are located on LinkedIn here or take a look the screenshot.

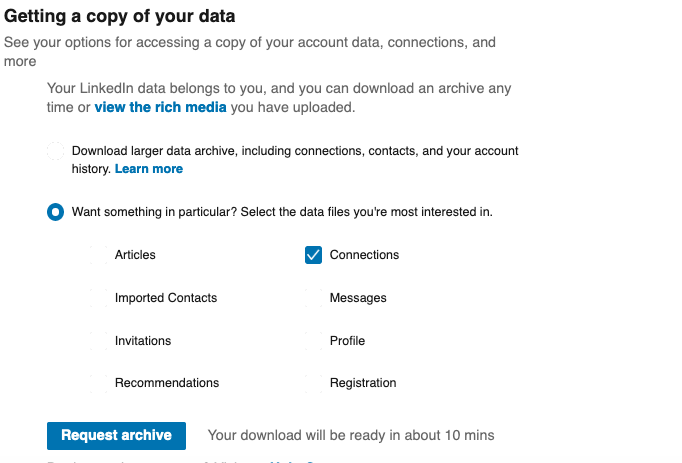
You then need to visit the link to “Download your data” and for this project you only need to export connections as show here:

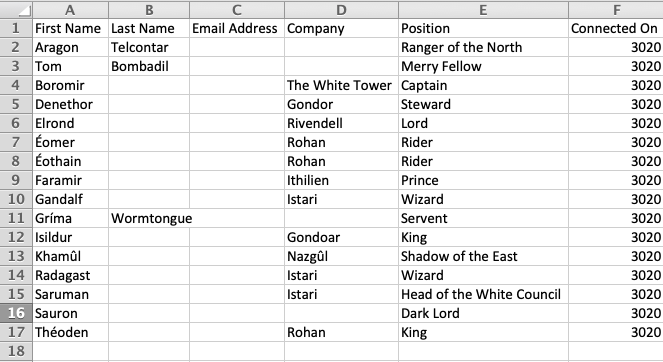
Once you receive the data you will get a csv file that looks something like this:

Before importing this into google, you want to make some small edits:

  1. Change the column header for “Position” to “Job Title.” If you don’t position will wind up in the wrong place in your imported entries.
  2. You can’t see this in the example because the LOTR characters don’t have Professional Certifications (PhD, MPH, PE, etc.), but LinkedIn appends them to your last name.  To make merging easier remove them in the csv.  If you have a lot, you can probably write a function using RIGHT() and FIND(“,”,…).
  3. Unfortunately, there is no equivalent in google contacts for “Connected On” so you can either delete that column or it will be added to the “Notes” field after importing.

After that you can simply import this data into your google contacts by following these instructions.  Later on we will have to clean up the import with some merging, but we will touch on that in a later entry.

Next time, I will review how to get your Facebook data.  Don’t worry, it will be awful.

Social Graph Project (1 of 5)

One of the first projects I wanted to share was how I created my social graph.  This was something that I started on at my last session with ELP as a way to better understand network weaving. 

The social graph was a great exercise to keep track of connections I made throughout my career, keep track of important details about people I work with, find whether other connections existed in my social graph, and refresh my mind about connections that have not been kept up.

I am going to write a few entries outlining a step by step process for collecting data from LinkedIn and Facebook, merging that into Google Contacts, then using that in Kumu.io, which was the social graphing software that I relied on from this project.

And so you can get a taste for the final product, here is a screenshot from the social graph I put together.  It’s like a coral reef!